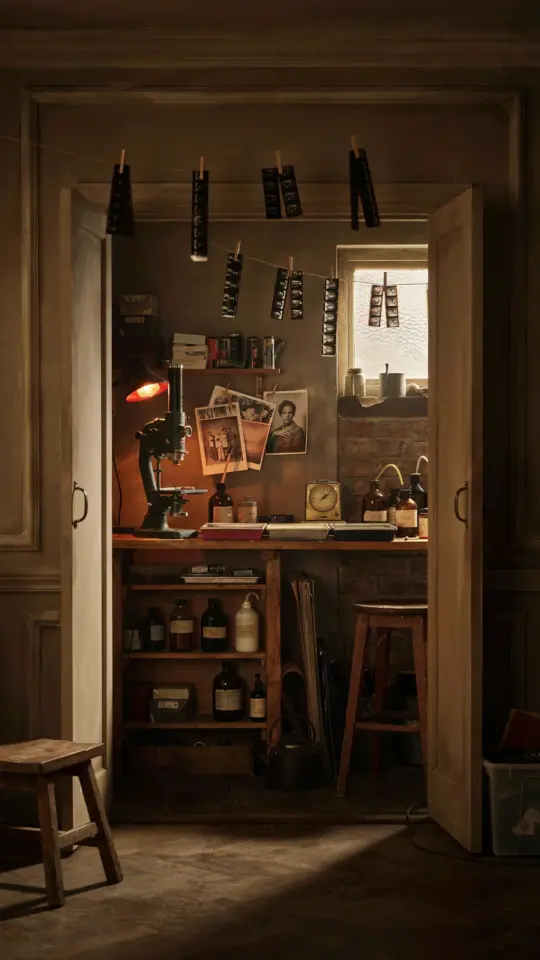
When I first set up my home darkroom, I quickly realized that a compact photography gear cabinet was not a luxury but a necessity. My small studio space barely had room for the enlarger and chemical trays, let alone my camera bodies and lenses. After trying shelves, cases, and even a repurposed nightstand, I found a solution that actually worked for tight quarters and messy darkroom conditions. A dedicated cabinet changed how I worked, how fast I could grab a shot, and how long my equipment lasted.
Maximizing vertical storage in a small photography studio
The floor space in my studio is precious, so I had to look up. A tall, narrow cabinet tucked into the corner gave me back several square feet of usable room. I chose a unit that stands about 70 inches high but only 18 inches wide. That footprint fits beside a door or next to a filing cabinet without blocking walkways.
Inside, I installed adjustable shelves so I could customize the spacing. Short shelves for filters and flash triggers, taller gaps for camera bodies with lenses attached. I also added a shallow shelf on the inside of the door for small items like memory cards and battery chargers. Every inch of vertical space now has a job.
If you measure your wall height before shopping, you can find cabinets that reach within a few inches of the ceiling. That top shelf becomes ideal for storing gear you use less often, like tripod plates or older lenses you keep for sentimental reasons.
Protecting camera gear from dust in a darkroom environment
A darkroom creates dust, plain and simple. Paper fibers, chemical residue, and general debris float around during printing sessions. Leaving lenses and bodies exposed on open shelves was a mistake I only made once. After cleaning dust out of a zoom ring for the third time, I switched to a sealed cabinet system.
My current cabinet has solid doors with a magnetic latch and a thin foam gasket around the frame. It is not airtight, but it cuts dust accumulation by about 90 percent. I also keep a small container of silica gel desiccant inside to control humidity, which is another issue in a room with wet trays and running water.
If your cabinet does not have a gasket, you can add one yourself for under ten dollars. Self adhesive foam strips from a hardware store work fine. Just clean the door frame first and press the strip into place. It makes a real difference for long term storage.
Organizing lenses and bodies for quick access
I used to stack lens cases on top of each other, which meant digging through a pile every time I needed a specific focal length. That wasted time and increased the chance of dropping something. Now I use drawer dividers inside the cabinet to keep each lens in its own spot.
Camera bodies sit on the middle shelf with body caps on when not in use. I keep one body with a standard zoom attached and ready to go. The other bodies wait with caps on and batteries removed to prevent drain. This system means I can grab and shoot in under 30 seconds.
- Store lenses vertically in padded dividers to save space and prevent scratches
- Keep a small label on each shelf slot so everything has a designated home
- Use a shallow tray for small accessories like remote triggers and cable releases
- Reserve the bottom shelf for heavier items like studio strobes or power supplies
- Never stack gear on top of other gear, it invites accidents
Knowing exactly where each piece lives removes the frustration of hunting for a particular filter or adapter ring. It
#photographygear #camerastorage #smallstudio #darkroomsetup #gearorganization
Leave a Comment