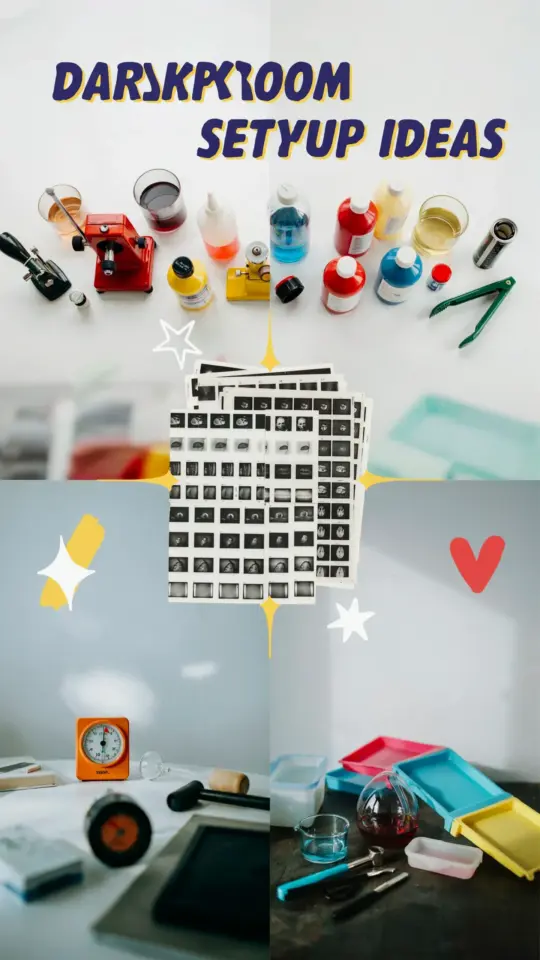
If you are thinking about a darkroom setup for film photography, you probably have more questions than answers. I remember my first attempt in a tiny apartment bathroom, surrounded by trays and a strong smell of chemicals. Here is what I learned about making an affordable layout and finding the right gear without losing your mind. Let me walk you through the basics so you can build a space that works for you, even if you have zero experience.
How to set up a darkroom in a small space
You do not need a dedicated room to start developing film. A bathroom, a walk-in closet, or even a corner of your laundry area can work. The main requirement is being able to block out all light when you need to load film onto reels. For that, a changing bag is your best friend. It is a light-tight fabric bag with arm holes that lets you load film without needing a completely dark room.
If you have a window, cover it with heavy blackout curtains or taped-up black plastic. You will also want a space where water runs and you can spill a little without ruining the floor. A large sink or a plastic tub on a table makes cleanup easy. I used a collapsible table in my bathroom for months.
Light tight storage for darkroom chemicals and paper
Film and photographic paper are sensitive to light. Even a small leak can ruin your prints. Store unopened paper in its original black bag inside a light-tight box or a dark cabinet. Once you open a pack, keep it in a sturdy light-tight container. I use an old film canister for small rolls and a zip-close black bag for larger ones.
Chemicals like developer and fixer are less light-sensitive, but they degrade when exposed to direct sunlight. Store them in brown glass or opaque
#DarkroomSetup #FilmPhotography #DarkroomIdeas #PhotographyDarkroom #DarkroomEquipment
Leave a Comment