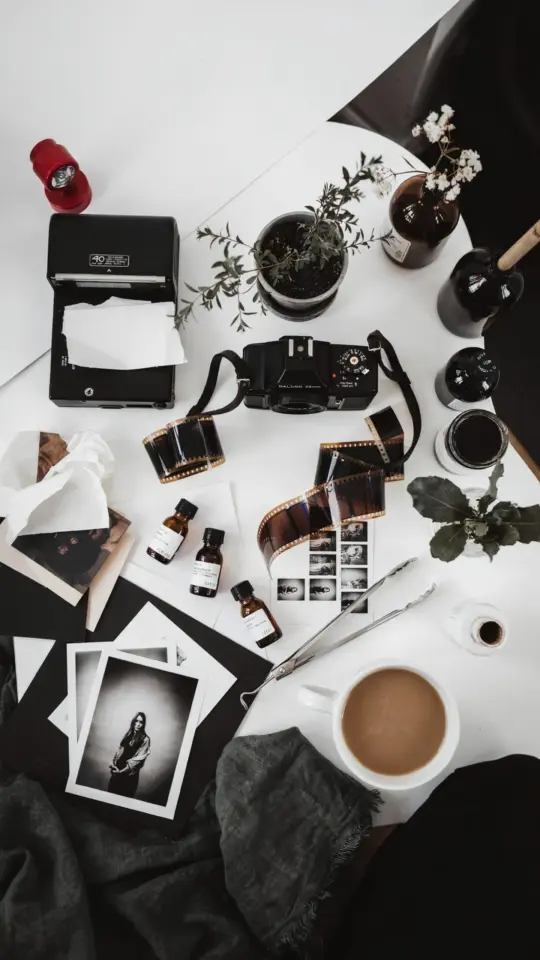
I started my film photography journey in a cramped apartment with a single closet to spare. Converting that narrow space into a functional darkroom felt impossible at first, but after a few failed attempts and plenty of trial and error, I found a rhythm that actually worked. My darkroom setup for small spaces became a lesson in creativity, not compromise. If you are dreaming of your own home photography lab but feel boxed in by square footage, let me show you what I did and what I learned along the way.
Making the Most of a Tiny Room: My Layout Choices
I began by measuring every inch of my 4×6 foot closet. A darkroom layout for a tiny area has to work in three dimensions, not just floor space. I mounted a folding table on one wall that I could flip down when I needed to develop film, then stash away when guests came over. On the opposite wall, I installed a shallow shelf for my trays, stacking them vertically with a small drying rack above. This vertical approach saved my sanity.
One trick that really paid off: I used a rolling cart for my enlarger and chemicals. That way I could pull it into the center of the room only when printing, then roll it back into a corner to keep the pathways clear. If you are working with a spare corner rather than a closet, consider a portable plywood top over a utility sink. That single surface can serve as a loading bench, a print washer station, and a clean drying area.
Compact Equipment That Actually Does the Job
You do not need a full-size enlarger or a massive developing tank to get great results. I downsized to a small format enlarger (a Beseler 23CII, but the old Omega B22 is even more compact) and a Paterson Super System 4 tank that handles two 35mm reels. Here is what I kept in my limited workspace:
- One 8×10 developing tray (stackable plastic type)
- A single chemical storage jug set (1L bottles with funnel caps)
- Miniature print tongs and a graduated cylinder that doubles as a measuring cup
- Clip-on LED safelight (magnetic, sticks to any metal shelf)
- A compact film drying cabinet made from a plastic storage bin with a small computer fan
Every item had to earn its spot. I sold my bulky print dryer and switched to hanging prints on a retractable clothesline. That one swap freed up a whole shelf.
Organizing Chemicals and Trays Without the Mess
Chemical storage in a tiny darkroom is a constant battle. I learned to keep everything in clearly labeled squeeze bottles that sit inside a plastic tub with a lid. The tub lives under my table, so if anything leaks, the mess stays contained. I also use a small, dedicated measuring spoon set for powder chemicals, and I store them in a repurposed spice rack mounted on the door.
For trays, I bought a three-tier wire dish rack from a dollar store and set it above my sink (yes, I use the bathroom sink). The rack holds the developer, stop bath, and fixer trays vertically, each with a small gap so air can circulate. That rack alone transformed my workflow from chaotic to calm. When I finish a session, I rinse the trays and store them flat under the bed. Simple, dry, and out of sight.
Lighting and Ventilation Hacks for Tight Quarters
Light control is the whole point of a darkroom, but in a small space it can feel suffocating. I bought a roll of adhesive blackout film and cut it to fit my closet door window. For the room itself, I installed a red LED strip around the ceiling trim that I can switch on without turning on the main lights. It gives just enough visibility to move around without fogging paper.
Ventilation was my biggest headache. My solution was a bathroom exhaust fan mounted in a small plywood panel that sits in the window opening. I wired it to a simple switch near my work table. It pulls fumes out and brings fresh air in. If you cannot cut into a wall, a portable carbon filter fan set on a timer works nearly as well. Please do not skip ventilation. I learned that lesson the hard way after a dizzying afternoon of selenium toner.
Building a Workflow That Keeps You Moving
In a cramped lab, your workflow can make or break the experience. I designed a one-way path: load film at the left side of my table, develop in the middle, wash and dry on the right. No backtracking. I hung a small whiteboard on the wall to jot down exposure times and chemical temperatures so I do not have to shuffle through notes while my hands are wet.
I also keep a “ready kit” in a zippered pouch: a thermometer, a timer, a pair of scissors, and a bottle opener for film canisters. When inspiration strikes, I pull that pouch out and I am set up in under two minutes. That speed matters when you are working in a room that cannot hold more than one person and
#darkroomsetup #homelab #filmphotography #darkroomlayout #photographyworkspace
Leave a Comment