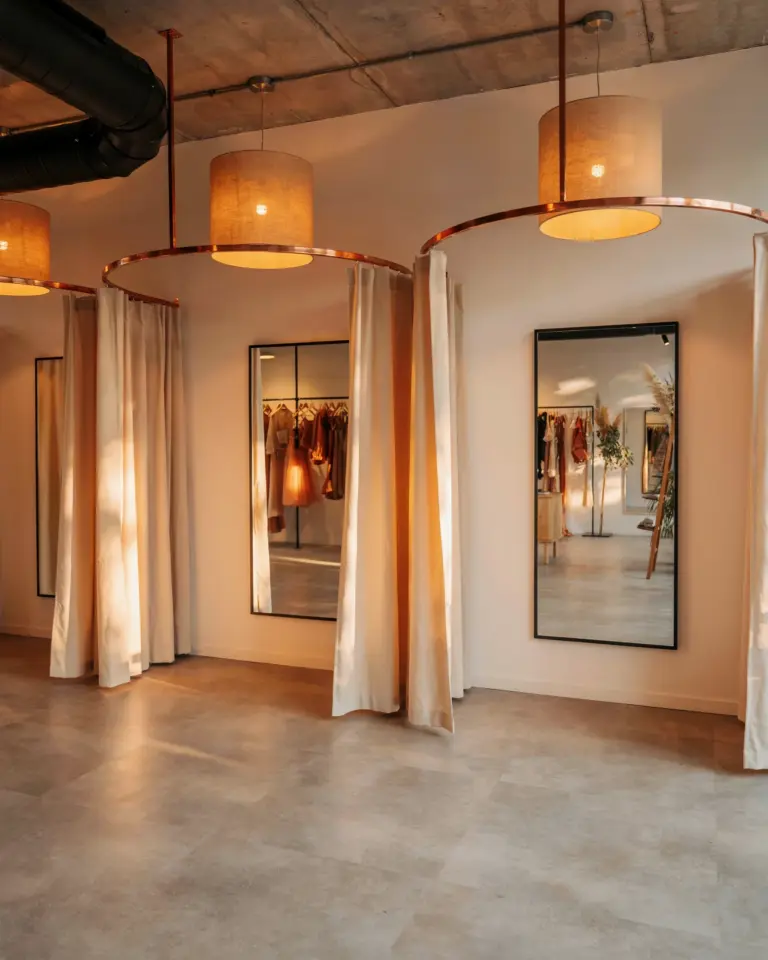
Setting up a photo studio looks expensive and intimidating, especially when you have a tiny space and a thin wallet. But I have learned that you do not need a huge room or costly gear to take professional looking portraits. These photo studio design ideas focus on small room layouts, natural light, and materials you can find at a local craft store. Whether you shoot for fun or plan to start a side business, this guide will help you build a functional home studio without breaking the bank.
Choosing the Best Room for Your Home Studio
Start by looking at the rooms you already have. A spare bedroom, a corner of the living room, or even a wide hallway can work. The most important factor is access to natural light. A room with at least one large window gives you a free, flattering light source.
Measure your available floor area. You need about 6 to 8 feet of depth for a headshot or half body portrait. For full body shots, aim for 10 feet. If the space is smaller, you can still shoot with a 50mm lens and keep the subject closer to the backdrop.
Clear out furniture that blocks movement. A single table, a chair for the subject, and a rolling rack for backdrops are enough. Keep the floor clean so you can move your tripod and lights easily.
Arranging Seamless Backdrops in a Tight Space
A seamless backdrop means a single sheet of material that goes from the wall to the floor with no visible seam. In a small room, you do not need a professional paper roll. A large piece of fabric or a sheet of foam board works perfectly.
To set it up, attach a tension rod or a simple wooden dowel between two walls, or use a backdrop stand that folds small. Clip the fabric or paper onto the rod. Let it drape down and curve onto the floor. This creates a smooth, continuous background.
For a budget friendly alternative, tape a white foam board to the wall at a 45 degree angle so it curves onto the floor. You get the same seamless effect for under ten dollars.
- Fabric backdrops – Muslin or canvas. They are washable and come in many colors.
- Paper rolls – Disposable but very smooth. Use white, gray, or black.
- Foam boards – Rigid and easy to reposition. Great for tabletop or close up portraits.
Using Natural Light as Your Main Light Source
Natural light is soft, free, and easy to control. Position your backdrop parallel to the window so the light falls evenly on the subject. If the window is behind the subject, you get a silhouette. If the window is to the side, you create dramatic shadows.
A simple way to soften harsh sunlight is to hang a white sheer curtain over the window. You can also use a white foam board as a reflector. Place it on the opposite side of the subject to bounce light back into the shadows. This technique fills in dark areas without needing an expensive flash.
Shoot during the golden hour (one hour after sunrise or before sunset) for warm, flattering light. Midday sun is too strong for a small room, but you can close the curtain to diffuse it.
Building a Simple DIY Backdrop on a Budget
A professional backdrop can cost hundreds of dollars. Instead, make your own using materials from a dollar store or fabric shop. A 6 by 9 foot piece of cotton fabric costs about fifteen dollars and gives you a variety of colors.
For a textured look, paint a plain white sheet with acrylic paint mixed with water. Use a sponge to dab on color in random patterns. Let it dry, then iron it. You now have a custom backdrop that looks like a canvas or marble texture.
Another idea is to use a large piece of wrapping paper or a roll of butcher paper. Tape it to the wall and let it unroll onto the floor. When it gets dirty, just tear off the used section and move on. No cleaning required.
I recommend starting with three basic backdrops: white, gray,
#photographystudio #studiodesign #homestudio #backdropideas #photographytips
Leave a Comment