You are reading this in a dorm room that smells faintly of instant ramen. Your camera is on the desk, but the negatives from last month are still in a shoebox. You want darkroom setup ideas for a dorm room, but you have maybe three square feet of actual floor space. That’s okay. I have done this in a closet-sized single, and I have opinions.
Honestly, the trick is not to build a real darkroom. It’s to build a photo corner that feels like one, where you can load film, check prints, maybe do some tray developing near a cracked window. The rest is just wall decor and a forgiving cat. Here’s how to pull it off without losing your security deposit.
Claim a Corner by the Window, Even if It’s Tiny
Look for the spot in your room that gets the most daylight, even if it’s awkward. My own setup lives between a radiator and a laundry bin, and it works because I cleared the floor and put a folding table on top of my mini fridge. You do not need a whole wall. You just need a flat surface that is not your bed.
For a dorm room photo corner, push your desk against the window if you can. That gives you natural light for inspecting negatives and a place to set up a small enlarger later. The window also gives your cat a front-row seat for whatever you’re doing, which is honestly half the appeal. Keep the area clear of books and mugs or you’ll knock something over in the dark.
Use Wall Inspo Instead of Expensive Blackout Panels
Everyone thinks a darkroom needs blackout curtains. They forget that most dorm windows face other buildings, not a spotlight. You can get away with pinning up thick fabric, a black bath towel, or even a dark hoodie over the curtain rod when you need total darkness. That costs nothing and it comes down in seconds.
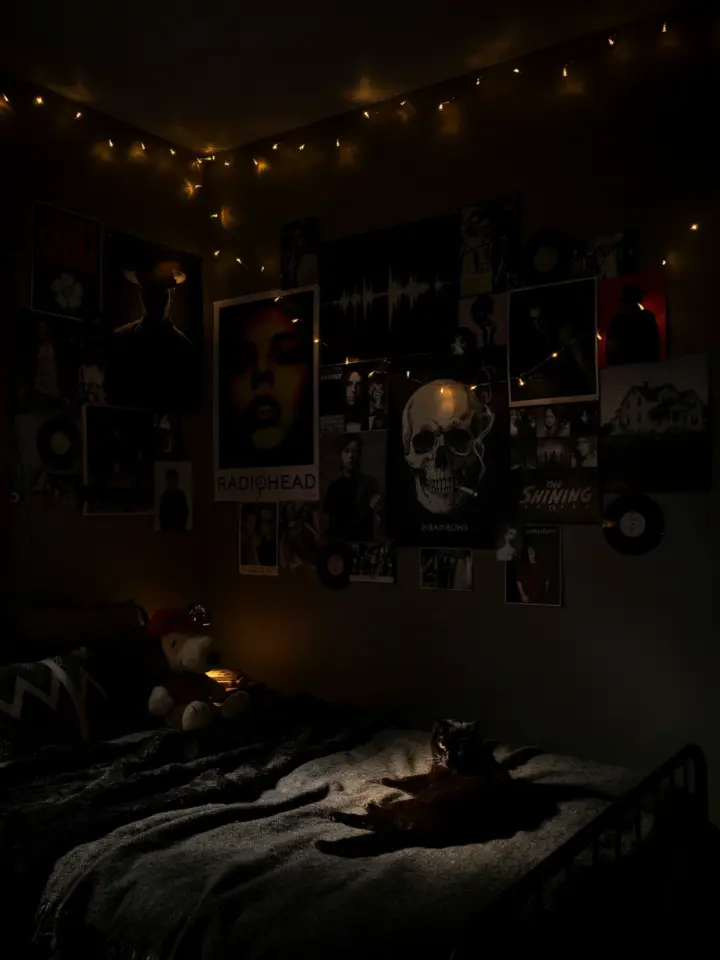
For everyday wall decor, skip the serious photo-lab posters and make your own inspiration board. Print contact sheets, old camera ads, torn pieces of matte paper, or film box covers and pin them straight to a corkboard. Add a strand of warm fairy lights if you want, but keep them dim. This is wall inspo that actually looks like a creative person lives here, not a lab accident.
Here are a few things I pin up in my own corner:
– A strip of expired Instax shots that came out weird
– A handwritten list of exposure times taped at eye level
– A page from an old photography magazine with a red circle around a lens I’ll never afford
– A postcard of a Fuji camera my aunt sent me in 2019
– A cat photo, obviously, because the cat demanded representation
Use binder clips instead of tape when you can. That way you can swap prints without ripping the wall.
Give Your Cat a Shelf So They Can Supervise
Cats will sit on your enlarger, your negatives, and your lap at the worst possible moment. Mine stepped into a tray of developer once because she wanted to watch me squint at a test strip. Now she has a dedicated shelf above the work table, lined with a cheap bathmat, and she sits there like a tiny museum guard.
A floating shelf rated for 20 pounds is enough. Install it high enough that the cat cannot knock your paper over but low enough that they still feel involved. The bathmat catches fur and spills, and you can wash it in the dorm laundry. This is cat-friendly wall decor that doubles as a seat, so you are basically furnishing for two.
If you do not have a cat, use that shelf for your enlarger timer, a stack of filter trays, and a small plant. Wait, no, the plant will die. Trust me, I tried. Just use it for gear.
Renter Friendly Lighting That Won’t Ruin Your Prints
You cannot paint the walls black or install red lightbulbs in the ceiling. That’s fine. You want something portable and removable, so think clamp-on lamps and colored cellophane. A $10 LED work lamp clipped to the shelf, wrapped with a red gel sheet, gives you that classic darkroom glow in ten seconds. Just make sure the bulb is dim enough to read your work by, which is the whole point.
On normal days, use the same lamp with a plain bulb for general dorm lighting. That keeps your photo corner from taking over the whole room. For actual paper printing, you will need a safelight and a dark space, but for loading film into a tank, the closet with a towel under the door works better anyway. Save the fancy stuff for later.
Smart Storage for Dorm Room Photography Gear
You need somewhere to keep chemicals, reels, and paper. A plastic three-drawer cart on wheels is perfect because the drawers are lightproof enough for spare paper, and you can roll it under the desk when guests come over. Store bottles upright and label everything with a Sharpie, or you will confuse fixer with toner someday. I confused them once. My prints looked like a bad Instagram filter.
For film rolls, use old mint tins or a small makeup bag. It sounds weird, but the tins are the right size for 35mm rolls and they keep cat hair out. Do not keep film in the bathroom, because humidity is a silent killer. Keep it next to your bed or in the same drawer as your socks. That is not glamorous, but it works.
One more thing: buy a roll of white painter’s tape. Write on that tape, not on your desk or walls. This is renter friendly storage that keeps your deposit intact.
Make the Whole Corner Look Like Room Inspo, Not Chaos
The difference between a messy dorm and a moody photo corner is a little intention. Choose a palette. For me, it’s black, cream, and one canary yellow tray that I refuse to hide because it makes me smile. When you put up wall decor, group things in odd numbers and leave a little space around them. It reads as curated instead of just stuffed.
Use a corkboard as your centerpiece, then let the shelf hold a few props. A vintage camera, a stack of old issues of Popular Photography, and a glass jar full of spent flashbulbs all do a lot of heavy lifting. Yes, the flashbulb jar is heavy, but it looks cool and nobody will ask to touch it.
Budget tip: thrift stores are your friend. I found a 1970s enlarger for ten bucks and a wooden clothespin jar for two. Neither is essential, but both turned my corner into something people actually photograph with their phones. That is what room inspo really means. It is not about perfection, it is about making a space that looks alive.
Keep the Cat Happy and the Chemicals Safe
I should say this plainly: darkroom chemicals are not cat snacks. Keep all working solutions in closed containers, and never leave trays out when you are not actively printing. My cat only got into the developer because I left the tray on a low stool to dry. That was my fault.
The shelf keeps her elevated, which makes her feel secure. It also keeps her away from the paper and the print washer. Place a soft blanket at the end of your bed so she has an alternative spot when she is bored with the shelf. A bored cat will test your patience and your stacking skills, so give them a window perch or a cardboard box nearby. Honestly, the box works best.
Also, open the window for a few minutes after any printing session. Even a tiny dorm room can build up chemical smells that give you a headache. Your roommate will thank you. Your cat will judge you no matter what, so do not worry about that.
Start Small and Build Your Photo Corner
You do not need every gadget on day one. Start with a clean table, a corkboard, one lamp, and a shelf for the cat. Add a film tank and a changing bag when you feel ready. Then graduate to a cheap enlarger if the obsession takes hold.
The best part of a dorm darkroom setup is that it changes with you. You can rearrange the pins, swap prints, and annoy your cat with a different arrangement every week. That is the whole joy of it.
If this gave you an idea, save it to your Pinterest board for your photo corner. Your future negatives will appreciate it, and so will your cat.
Leave a Comment