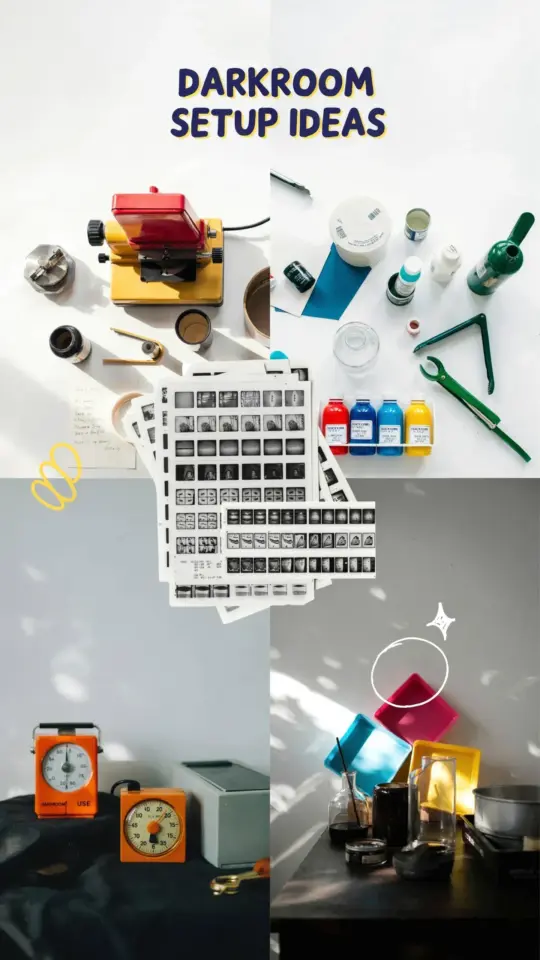
Why Safelight Placement Matters
When I started my first darkroom setup, I thought any safelight would work as long as it glowed red. Big mistake. I hung a cheap red bulb two feet above my enlarger tray and printed a whole batch of muddy, fogged 8x10s. That’s when I learned that safelight placement is a core part of any functional darkroom setup, not an afterthought. The chemistry in your paper and film is sensitive to light, even “safe” light. If that red glow hits the paper too directly or for too long, it exposes the emulsion just like daylight would. Your whites turn gray, your highlights lose detail, and you wonder why your prints look flat. The fix is simpler than you think: get that safelight away from your working surface.
The Safelight Distance Rule Every Beginner Should Know
There’s a rough rule of thumb I wish someone had told me on day one. Mount your safelight at least 4 feet away from your developing tray and enlarger baseboard. Four feet might sound like a lot in a cramped bathroom or closet darkroom, but it’s the minimum to prevent fogging. Why four feet? Light intensity falls off with the square of the distance. Doubling the distance cuts the brightness by four times. That extra space gives your paper a much longer window before the safelight starts to fog it. So if you can manage 5 or 6 feet, even better. Mount the safelight high on the wall, pointing toward the ceiling or away from your work area. Indirect light is your friend. A low-hanging bulb aimed straight at your tray is a recipe for ruined prints.
Choosing the Right Safelight for Film Photography
Not all safelights are created equal, and picking the wrong one can sabotage your darkroom tips even before you start printing. For black and white paper, you want a safelight that uses a filter designed for the specific emulsion you’re using. Most modern papers are orthochromatic (sensitive to blue and green) but not red. That’s why a red or amber filter works. The classic 10-watt or 15-watt incandescent bulb behind a Kodak OC or 1A filter is a solid choice. LED safelights are popular now too because they run cool and last forever. Just make sure the LED is specifically labeled for black and white darkroom use. A cheap red LED from a party store might emit blue or UV wavelengths that fog paper instantly. If you’re printing with variable contrast filters, stick to a sodium or amber safelight. They’re dim but safe. And never use a safelight for developing film unless you have a very dim green filter made for that purpose. Most film is panchromatic (sensitive to all colors) and will fog in any visible light.
Common Safelight Mistakes That Fog Your Prints
Beginners often make the same errors I did. Here are the biggest ones to avoid if you want cleaner prints:
- Placing the safelight too low. A lamp on the counter or desk is almost always too close to the paper. Move it up.
- Using a bulb that’s too bright. A 25-watt bulb can be overkill in a small room. Stick to 10 or 15 watts. You need just enough light to see your tray, not to read a newspaper.
- Pointing the safelight directly at your working area. Angle it toward the ceiling or a side wall so only reflected light reaches your paper.
- Forgetting the darkroom tip tape test. You can test your safelight by putting a coin on a sheet of photo paper for 10 minutes under the light, then developing it. If you see the coin impression, your safelight is too close or too bright.
- Using a safelight with a cracked or wrong filter. A filter that lets through white light will fog paper instantly. Check for cracks or fading.
Fixing these mistakes is usually free and takes five minutes. The improvement in your prints will be immediate.
Testing Your Safelight Setup Before You Print
I test every safelight in a new darkroom before I even mix chemistry. The method is simple. In total darkness, take a sheet of enlarging paper and place it on your work surface. Put a small object like a key or coin on top of the paper. Turn on your safelight for exactly 10 minutes, then turn it off. Develop the paper normally (full developer, stop, fix, wash). If you can see a white silhouette of the object on a gray background, your safelight is fogging the paper. Adjust the position, distance, or brightness and repeat the test. Keep testing until the paper comes out pure white. This test takes only a few sheets of paper and saves you from wasting dozens later. I do this every time I move my darkroom or change a bulb. It’s the only way to be sure your safelight setup is truly safe.
Alternative Lighting Hacks for Tiny Darkrooms
Not everyone has a dedicated darkroom with tall ceilings. I’ve run a darkroom in a 5×8 foot bathroom with a single hanging safelight. When space is tight, get creative. Mount the safelight on the ceiling with a cord so you can position it above and behind your head. Use a gooseneck clamp lamp aimed upward so the light bounces off the ceiling. Another trick: put a cardboard baffle between the safelight and your trays. A simple piece of black matboard cut to size and hung from the lamp casts a shadow over your work area while still giving you enough ambient glow to see. You can also switch to a “safelight bulb” that is amber or sodium orange and rated for low wattage. Those bulbs are incredibly dim but perfectly adequate for seeing tray edges and timer displays. If you have a second safelight, mount it on the opposite wall near your chemicals, not near the enlarger. Remember that indirect, dim light is always better than direct, bright light. Your eyes will adjust in a minute or two. Give them time.
One Last Tip for Cleaner Prints
Safelight placement is a small detail in your overall darkroom setup, but it makes a massive difference in print quality. I’ve seen people spend hundreds on chemicals and paper only to ruin it by having a safelight in the wrong spot. Take the 10 minutes to mount it high, at least 4 feet away, pointing away from your trays. Test it with a coin. If it looks too bright, dim it or move it further. Your prints will come out with brighter whites, deeper blacks, and no muddy haze. That’s the kind of improvement you can see and feel. So next time you’re setting up your darkroom, give your safelight some real thought. Your negatives will thank you. And hey, if you try this tip and see a difference, come back and let me know. Happy printing.
#darkroomsetup #safelight #darkroomtips #photography #filmphotography
Leave a Comment