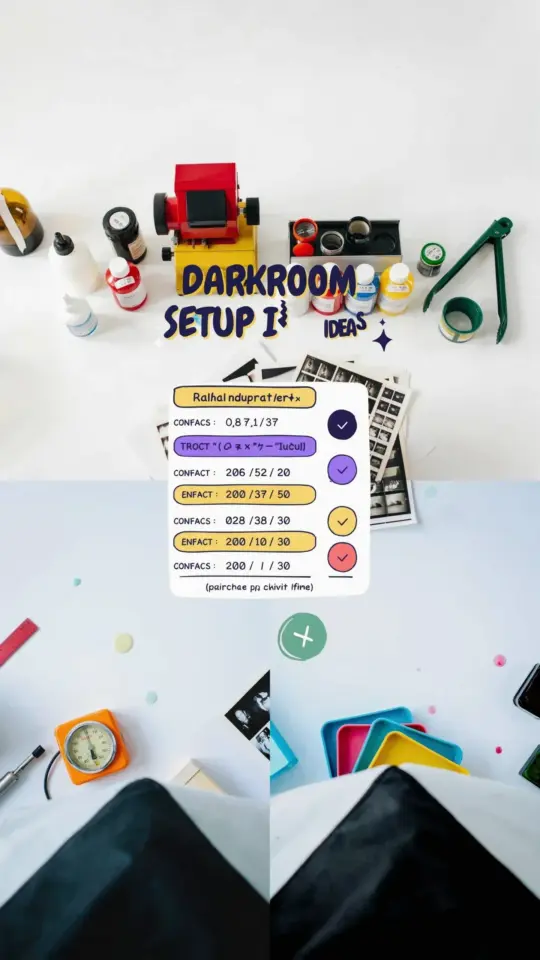
You do not need a $2,000 lab to make beautiful silver gelatin prints. I started mine with a $40 used enlarger, a red LED strip from Amazon, and three plastic trays that still have coffee stains on them. The whole setup cost less than a single night out, and it worked. Look, the photography industry wants you to believe you need every gadget, every precise temperature controller, every archival-grade print washer. You don’t.
Budget Darkroom Essentials: What to Buy First
Let’s be real about what actually matters in a darkroom. You need four things: an enlarger, a lens (usually attached to the enlarger), trays, and a safelight. That’s it for the core gear. Everything else is either a convenience or a distraction.
I remember staring at my first setup in a tiny bathroom. It was a mess of extension cords and duct tape. But the moment that first print emerged in the developer, I was hooked. The gear list for a functional darkroom is embarrassingly short.
- Enlarger with a decent lens (the lens matters more than the body)
- Three or four plastic trays (10×12 inch is a good starting size)
- A safelight you can build for $15
- Thermometer (a simple dial one from a kitchen store works fine)
- Photographic chemicals (paper developer, stop bath, fixer)
That list is the whole secret. The rest is just technique, patience, and a willingness to get your hands wet.
Finding a Used Enlarger Without Getting Ripped Off
Used enlargers are the best kept secret in analog photography. People liquidate estates, clear out garages, and practically give away these heavy metal machines. I found my Beseler 23C on Facebook Marketplace for $40. The seller just wanted it gone.
Check thrift stores, garage sales, and local classifieds. Avoid paying shipping costs for enlargers; they weigh a ton and the shipping will cost more than the item. Try to find one locally so you can inspect it in person. You are looking for a working light source, a smooth focusing mechanism, and a lens without fungus or haze. That’s the whole inspection checklist.
Here’s the thing, people often overpay for enlargers with rare color heads or fancy timer units. Skip that noise. A basic black and white condenser head is perfect for learning. And honestly, that $40 enlarger of mine still works today, years later.
DIY Safelight: The Red LED Strip Trick
Traditional safelights with glass filters are expensive and hard to find. My solution was a roll of red LED strip lighting, the kind people use for gaming rooms or behind TVs. I taped it to the ceiling of my bathroom darkroom and it works perfectly.
The key is the color of the red. Standard black and white paper is orthochromatic, meaning it is sensitive to blue and green light but not red. Any red light source is technically fine, as long as it is truly red and not orange or amber. I bought a strip that was specifically advertised as ‘pure red’ and tested it by placing a coin on a piece of photo paper for five minutes.
The test came out blank, which meant the light was safe. That little experiment gave me so much confidence. Here is a practical tip: the LED strip can create hot spots, so diffusing it with a piece of white paper or frosted plastic helps. Or just tape it up high and bounce it off the ceiling.
Darkroom Trays and Chemistry: Keep It Simple and Cheap
You do not need expensive four-slot processing drums or slot processors. I use three plastic trays from a restaurant supply shop. They are the same trays used for serving food, and they cost about two dollars each. The sizes don’t even match perfectly, and nobody cares.
Tray processing is actually superior for learning because you can see the print develop in real time. You watch the image appear from nothing. It’s a little bit of magic, honestly. Arrange your trays in a line: developer on the left, stop bath in the middle, fixer on the right. Keep them in that order so you don’t cross-contaminate your chemicals.
For chemistry, start with a liquid concentrate like Ilford Multigrade developer. It mixes easily and lasts a while. Add a simple stop bath (or just use plain white vinegar diluted with water, it works fine as a stop bath). Then a standard fixer. That’s the entire chemical lineup.
Why Your First Grain Focuser Is a Waste of Money
Ok so here is a controversial opinion. A grain focuser is the one thing people tell you to buy that you can skip. I spent $30 on mine and used it exactly three times before I realized my eyesight and the whole process just worked better when I trusted my instincts. I focus using plain paper and a loupe, which I already owned.
Now, I am not saying grain focusers are useless. They have their place, especially for high-contrast work or when you need pixel-level sharpness. But for a beginner wanting to just make beautiful prints, it’s an unnecessary expense. You can get perfectly sharp prints by focusing on the grain of the negative using a simple magnifying loupe.
If you do decide you need one later, buy used. They are mechanical devices, not complicated electronics. A used one from a camera swap meet will outlast you.
Budget Darkroom Setup Checklist for Your First Print Session
Before you start, spend ten minutes running through this checklist. It will save you from ruining paper and tearing your hair out.
- Check your enlarger bulb is still working (I have one that flickers, it’s my nemesis).
- Mix fresh chemicals at the right temperature (68 degrees is the standard).
- Turn off all white lights before you take the paper out of the box.
- Set a timer for each step and write it on a sticky note.
- Have a dedicated spot for wet prints to dry, like a clothesline with clips.
I once forgot to turn off the bathroom light and ruined an entire box of paper. The room was pitch black, I opened the box, and the light from the hallway spilled in. That was an expensive mistake. Anyway, the checklist is there to help.
Making a Small Space Work Without Going Crazy
My entire darkroom is a cramped bathroom with a fan that sounds like a helicopter. You do not need a dedicated room. You just need darkness, running water, and a flat surface. I put a piece of plywood across the bathtub for trays and balanced the enlarger on a rolling utility cart from a hardware store.
Ventilation is the real challenge in a small space. Chemical fumes are not a joke. If you don’t have a window, run a fan and crack the door a tiny bit (tape a towel at the bottom so the light doesn’t get in). Honestly, the smell of fixer grows on you after a while, but your brain cells disagree.
Set everything up the night before. That way, when you actually have free time, you just walk in, turn off the lights, and start printing. The less friction between you and the process, the more you’ll do it, and the better your prints will get.
The truth is, your first prints will probably be too dark, too light, or just a little off in contrast. That is absolutely fine. The second session will be better. By the third, you’ll feel like a forensic scientist, adjusting exposure times and paper grades with total confidence. And all of it happened because you refused to overthink the gear and just started with what you had. Save this for later, so you don’t lose the list, and get out there and make some messy, beautiful prints.
Leave a Comment