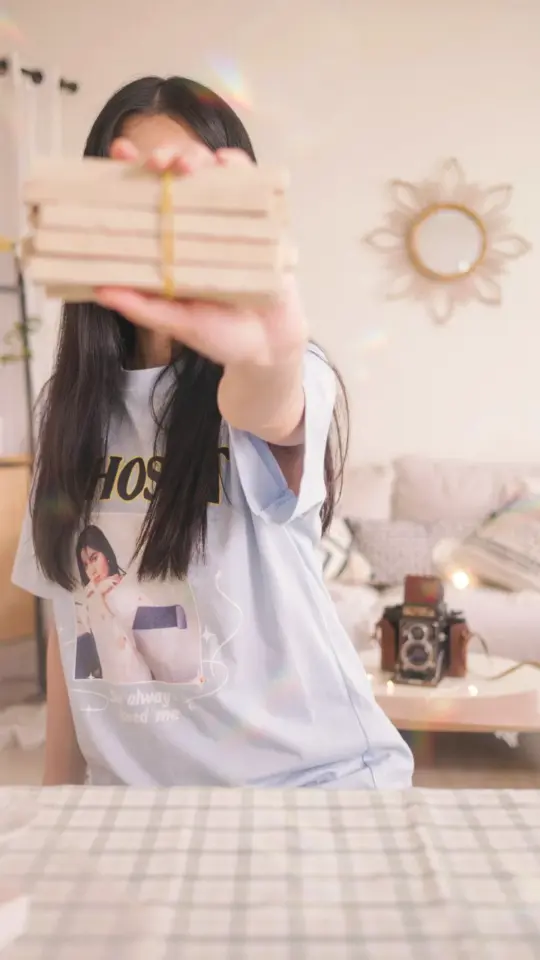
You’ve got a pile of popsicle sticks and a thing for old cameras. Or maybe you’re just tired of looking at a blank wall and want something with a little character. Either way, this craft is doable in an afternoon, but there are a few traps that’ll turn a cute idea into a crooked mess. This popsicle stick wall hanging looks simple, and it is, but the mistakes happen when you rush. Let’s talk about how to avoid them.
Picking the right popsicle stick wall hanging supplies
Honestly, the first mistake is grabbing the first bag of sticks you see. Not all popsicle sticks are the same. Standard jumbo craft sticks are around 6 inches long and ¾ inch wide, and that’s the size you want. The skinny ones from a regular popsicle? They bend too easily and leave weird gaps.
You’ll also need a good glue. School glue works, but it takes forever to dry and things slide around. Hot glue dries fast but leaves stringy bits everywhere. I’ve been happiest with tacky glue. It grabs quickly, dries clear, and gives you about ten seconds to nudge a stick into place.
- Jumbo popsicle sticks (at least 50, but get 100 because some will be warped)
- Tacky glue or a low-temp hot glue gun
- Cardstock or heavy paper for the lens and flash
- A pencil, ruler, and scissors
- String or a picture hanger for the back
One more thing. Check the sticks before you glue. I once opened a bag where half of them were slightly curved, and the camera body ended up looking like a smile. Use only the flat ones for the frame. The crooked ones can still work for fills, but not for the outline.
How to arrange popsicle sticks into a camera shape
Lay out the shape on a flat surface before you glue. This sounds obvious, but so many people start gluing stick by stick and pray. Place all the sticks down first and adjust them until the rectangle looks like a camera body. The corners should overlap a little, like a frame, so the center stays open for your lens.
Here’s where people mess up. They glue the sticks in pairs, then try to glue the pairs together, and the whole thing warps. Instead, build the outer border first. Glue four sticks into a square, then add sticks inside the border to fill the body. That keeps the edges straight.
Let the glue dry completely. I know you’re excited. I know you want to see the lens on there. Wait at least twenty minutes. If you move it too soon, the corners will shift and you’ll have a parallelogram. (Yes, that’s a very specific nerdy way to say it, but you get the point.)
The paper lens trick that makes or breaks the vintage camera decor
Now for the fun part. The lens is what makes this read as a camera, not a weird wooden rectangle. Cut a circle from dark cardstock. Use a small bowl or a compass to get it perfectly round. Or trace the bottom of a mug. Freehand circles tend to look like potatoes.
Here’s a mistake I see all the time. People glue a flat circle onto the sticks and call it done. It looks like a sticker. Instead, layer two or three smaller circles on top of each other. Start with a dark gray circle, then a black circle in the middle, then a tiny white dot for the glass reflection. That tiny dot changes everything. It gives the lens depth.
Another trick. Cut a circle from thin cardboard, like a cereal box, and glue the paper circles onto it. Then glue that cardboard disc onto the sticks. It stands out just a bit more, and that little bit of physical depth makes it look like a real camera lens instead of a picture glued on.
Building a vintage flash that doesn’t look like an afterthought
Old cameras had those big cube flashes on top. If you skip it, your wall hanging will just look like a box. But adding it poorly is almost worse. I’ve seen tutorials where people glue a few sticks horizontally above the camera and call it a flash. It looks like an eyebrow.
To make a better flash, take two or three sticks and lay them side by side to form a rectangle. That’s the base. Then cut a piece of cardstock the same size and glue it on top. Once it’s dry, glue that whole unit at an angle, or straight across the top edge of the camera body. If you want it to look even more authentic, cut a small window shape into the cardstock and back it with silver paper. That becomes the flash bulb.
And don’t glue the flash on until the camera body is fully dry. I learned that one the hard way. I attached the flash too early, the weight of it pulled the top of the camera loose, and I had to pry everything apart with a butter knife. It was not pretty.
Common popsicle stick wall hanging mistakes (and how to fix them)
So you’ve got the basic shape done. Now let’s talk about the details that turn a good craft into a great one.
Gaps. If you left spaces between sticks, fill them with smaller stick pieces cut to size. This is the one time you can use those warped sticks you set aside, just cut them down. A little gap here and there adds texture, but big holes will make it look sloppy.
Glue drips. When you’re gluing sticks together, don’t go overboard with the glue. I always say a pea-sized dot is plenty for each joint. If you see glue oozing out, wipe it off immediately with a damp finger. Dried glue is a pain to scrape off, and it ruins the nice natural wood look.
Uneven edges. Put all the sticks in the border so they’re flush on the outside edge. Don’t try to line them up by eye. Use a ruler or just press them against a wall. If the edge is wavy, sand it down after the glue dries. A quick pass with medium-grit sandpaper makes the sides feel smooth and professional.
How to hang a popsicle stick camera so it stays straight
Now for the final decision. How is this thing going on the wall? You have a few options, and they all work, but one of them will make you want to throw the camera across the room later.
If you use a sawtooth hanger, screw it into the middle stick at the top. Mark the center of the back with a pencil first. If the hanger is off by even a half inch, the whole camera will hang crooked. And because the sticks are light, a crooked hanger is nearly impossible to adjust without taking it down again.
Another option is a piece of twine or string. Glue or staple it to the back of the top edge. But here’s the thing. Make sure the string is looped so it hangs evenly. If one side is longer, the camera will tilt forward and look like it’s leaning. I had to re-glue mine three times because I kept underestimating how much the string would stretch.
And if you’re renting, use a Command strip. Sticky tape on the back of a popsicle stick camera works fine, as long as the wall is clean. But don’t use the oversized velcro strips. They’re so thick that they push the top of the camera away from the wall, and you’ll see a gap. Use the small ones, or better yet, the picture-hanging strips, which are much flatter.
Once it’s up, step back and look at it. Is the lens round? Does the flash look like it belongs? Did you remember the little dot on the lens? If yes, you’re done. Walk past it a few times. You’ll probably smile. I always do, because it looks like a tiny vintage camera that forgot it was made out of wood.
Anyway, that’s the whole project. Not too bad, right? If you make one, I’d love to hear how it turned out. Or if you hit a snag, ask away. We’re all just gluing sticks and hoping for the best.
Leave a Comment