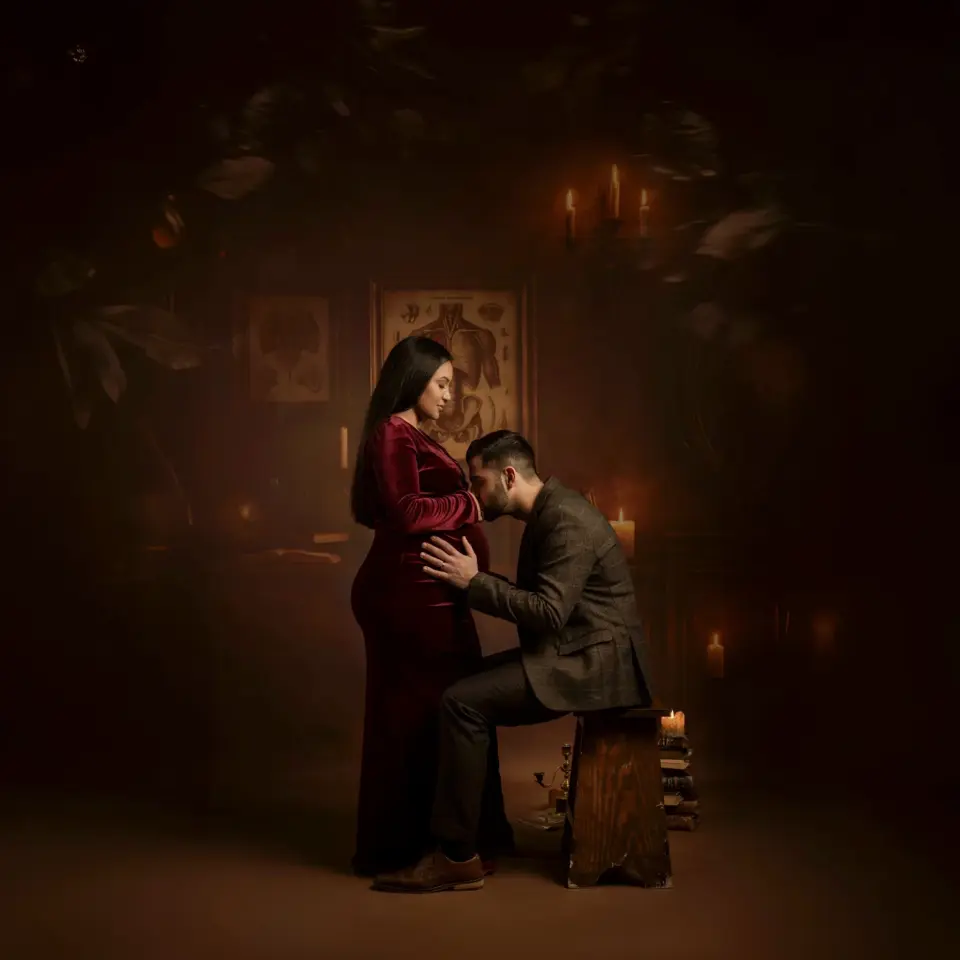
Twelve feet of beige wall, one secondhand chair, and a window with cheap blinds. That’s the entire setup behind my favorite maternity photos from last month. My client nearly canceled when her big studio rental fell through, but we pushed on in my cramped home workspace. The resulting gallery outperformed every lavish shoot I’d done that year, and honestly, it taught me more about photography than any workshop ever did.
Maternity photography doesn’t care how many square feet you have. It cares about light, angle, and how well you direct a soon-to-be mom into positions that make her feel powerful. Here’s how to pull off a stunning pregnancy photo shoot in a tight space, using gear you probably already own.
## Setting Up Natural Light for Pregnancy Photos in Tight Spaces
South-facing windows are your best friend, even if they come with ugly blinds. I shot a session last week using nothing but a single north-facing window and a white foam board from the dollar store. The window was tiny, barely two feet wide, but the quality of that soft, directional light made the skin look like silk.
Position your subject at a 45 degree angle to the window, not straight on. This creates gentle shadows that define the bump instead of flattening it out. If the light is too harsh, hang a sheer white curtain over the window. A cheap shower curtain liner works surprisingly well too.
Here’s something most tutorials skip: turn off every artificial light in the room. Mixed lighting is the enemy of clean skin tones. That overhead ceiling light is ruining your color, I promise.
## Choosing the Right Lens and Focal Length for Studio Maternity Shoots
A 50mm or 85mm prime lens is your best tool for a small studio. The aperture compression creates that dreamy separation between your subject and the background, making a plain wall look like a professional backdrop. I’ve shot entire sessions at f/1.8 and never once felt limited.
You might be tempted to switch to a wider lens to “capture more of the studio.” Resist that urge. At 24mm or 35mm, you’ll introduce distortion that makes the bump look weird and the room look bigger than it is. That’s not a compliment to your space; it just looks off.
For the curious, I’ve found that backing up as far as you can and zooming in with an 85mm produces the most flattering results. You’ll be surprised how far away you can shoot in a small room. The background falls away completely, and all the mess in the corner disappears.
## The “Bump Hero” Posing Technique for Simple Studio Setups
You don’t need a posing guide with forty different positions. You need one good angle, repeated with variations. Have your subject stand with her side to the camera, hand resting on the lower part of her belly, chin slightly lifted. That’s it. That’s the foundation.
**For a few quick variations to keep things fresh:**
– Ask her to look down at her bump with a soft smile, then look over her shoulder at you for a more dramatic shot
– Have her place both hands on the top of her belly instead of the sides, which draws attention to the shape
– Sit her in that chair sideways, with one arm resting on the back, creating a gentle curve in her spine
Do not ask her to hold in her stomach. Ever. The bump is the star, not an inconvenience. And avoid the tired “heart shape with hands over the belly” pose unless she specifically requests it. Most moms I shoot are relieved when I tell them we’re skipping the clichés.
## Using a Clean Wall as a Minimalist Backdrop
My secret weapon is a wall with slightly textured off-white paint. No canvas, no paper rolls, no patterned fabric. Just a wall that’s been repainted four times over the years, so it has this subtle mottled effect that looks intentional.
The beauty of a bare wall is that it forces your eye to focus on what matters: the curve of the belly, the expression on her face, the way the light wraps around her shoulders. A busy background is a distraction, and you have no room for distractions in a small studio.
To add visual interest without clutter, leave at least six feet between your subject and the wall. This creates a soft gradient shadow behind her. Bookend the session with a few frames of her silhouette in front of the same window, and you’ll have a complete gallery with zero extra props.
## Practical Studio Setup and Lighting Essentials for Photographers
Look, your equipment list for a small studio maternity shoot is shorter than you think. I own a proper strobe kit, but I rarely use it for these sessions. The natural window light is almost always better. If you’re shooting on an overcast day, the clouds are doing your post-processing work for you.
Keep a small step stool or a sturdy wooden crate nearby. Changing your camera’s height is the quickest way to add variety to your shots. Shooting from a low angle makes your subject look taller and more regal. Shooting from above with her looking up can produce an intimate, vulnerable feel. Honestly, I reposition myself more than I reposition my clients.
Don’t forget the practical stuff either. Keep a bottle of water and a small snack nearby. Pregnant moms need breaks, and a dizzy client is a session ender. I always have a box of unsalted crackers in my studio bag; it’s saved me twice now.
## Common Small Studio Mistakes and How to Fix Them
The biggest error I see photographers make is trying to fit an entire natural light setup into a space that has no windows at all. You can’t just create gorgeous window light out of thin air. If your studio is windowless, you’re better off using one softbox placed close to the subject than trying to bounce a speedlight around the room.
Another mistake is overloading the frame with stuff. Your desk, your camera bag, the chair you just used for a prop, all of it ends up in the background if you’re not careful. Take a full 360 degree sweep of the room before you even ask your client to sit down. Move anything that looks like it belongs in a busy office.
And for the love of good composition, don’t forget to check your camera’s white balance. Auto mode makes skin look strange under mixed light conditions. Set it to “shade” or “cloudy” for a warmer tone, or shoot RAW so you can fix it later without losing quality.
## Curated Props That Enhance, Not Clutter, Your Maternity Photography Studio
You don’t need a prop closet the size of a bedroom. In fact, the smaller your space, the more disciplined you must be about what crosses the threshold. A single wicker chair, a swath of flowing fabric, and one vase of fresh flowers are plenty.
Here’s my strange little tip: keep a stack of clean white bedsheets in your studio. Not the fancy muslin wraps, just regular sheets. They work as a soft layering prop for a sitting pose, a last-minute background cover if your wall has a scuff mark, and a way to make a client feel more comfortable when she’s worried about showing too much. They’re also easy to wash and sanitize, which is more than I can say for those imitation leather chairs everyone seems to love.
Try having your client wear a simple slip dress or drape the sheet over her bare bump for just a few frames. The variance adds a delicate intimacy that full-coverage poses can’t achieve.
## Wrapping Up Your Small Studio Maternity Session
The best part of this whole lightweight setup? You’re done in sixty minutes, your client isn’t exhausted, and your tiny studio still looks immaculate. I wrap up the session by walking the mom through one last pose, usually something with her partner or she holds her hands over her belly while looking out the window. It gives a quiet, reflective ending to a joyous shoot. No dramatic finishes, no prop explosions, just a real moment.
Ready to book your own session? Let’s talk about what you want these photos to feel like. Send me a message, or just drop by the studio to see the twelve feet of beige wall in person. I promise it looks better with a beautiful pregnant mama in front of it.
Leave a Comment