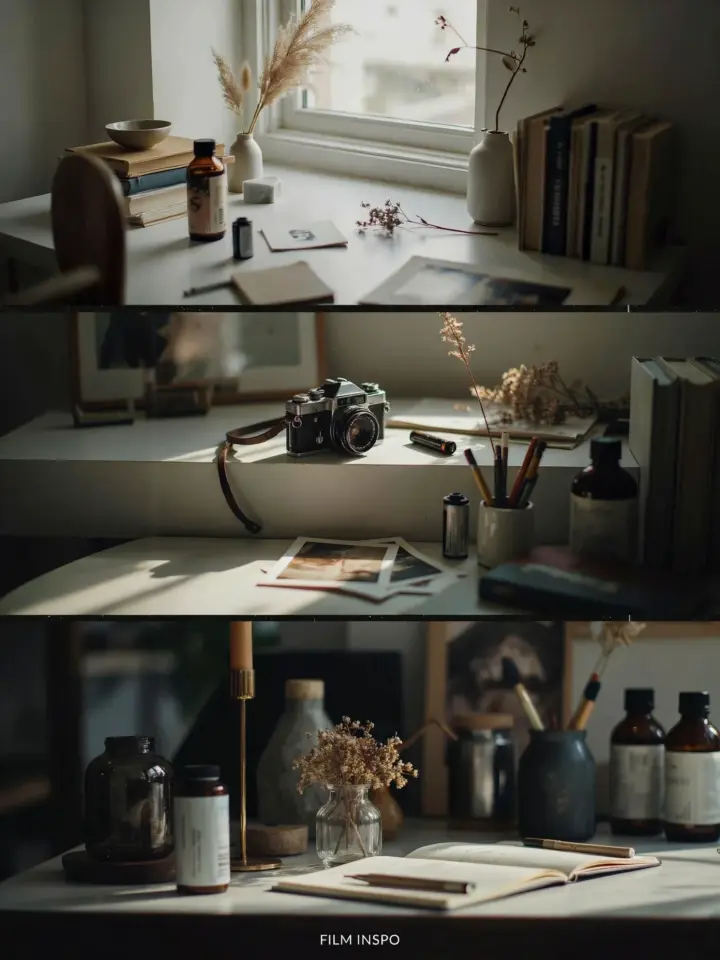
Why Develop Film at Home Now? (A Seasonal Perspective)
If you shoot film, you have probably noticed the prices for developing and scanning keep climbing. Labs take longer in busy seasons, and sometimes you just want to see your negatives tonight, not next week. Learning how to develop black and white film at home is simpler than it seems, especially if you start on a cold winter evening when outdoor photography slows down. In fact, winter is the perfect time to try it because you can keep your chemicals at a steady room temperature without fighting summer heat. Plus, it turns a lazy Sunday into something productive while a roll of 35mm sits in your fridge waiting for a bath. I remember my first roll came out with weird streaks, but that taught me more than any lab report ever did. You get total control over contrast, grain, and the whole look of your negatives.
What You Actually Need to Start Developing Film at Home
The equipment list is shorter than you think. You do not need a darkroom at all, just a space where you can block out light temporarily. Here is the core gear:
- A light-tight changing bag (the cheapest ones work fine for 35mm)
- A developing tank with two reels (Paterson or the plastic ones from Lab-Box are beginner friendly)
- A thermometer that reads between 15°C and 30°C (60°F to 86°F)
- Three measuring jugs or bottles for chemicals
- Your chosen developer, stop bath, fixer, and a wetting agent like Photo-Flo
- A film squeegee or a pair of clean fingers for drying
I recommend starting with a basic developer like Kodak HC-110 or Ilford ID-11 because they keep for months in liquid form. For black and white film, most developers work across many films, so you do not need to overthink it. A small investment, around 60 to 80 dollars, gets you enough chemistry for at least 20 rolls. That pays for itself after three trips to the lab.
Loading the Film into the Tank Without a Darkroom
This is the step that scares most beginners, but it is easy once you practice with a sacrificial roll. Unspool the film inside the changing bag, feed the end into the spiral of the reel, and ratchet the whole thing on. The bag blocks all light, so you can do this at your kitchen table while listening to a podcast. A few tips: cut off the film leader straight with scissors before you get started, and make sure your hands are dry and clean. If your fingers are damp, the film sticks to itself. I once spent ten minutes cursing inside a dark changing bag because I had sweated too much. Also, if you drop the reel, just feel around for it slowly; the bag is dark but not huge. Once the tank is sealed and the lid is on tight, you can take it out into normal light. That is the only part that needs total darkness, everything else happens under lamp light.
Mixing Chemicals and Getting Your Times Right
Every developer has an ideal temperature, usually 20°C (68°F) for most black and white films. Cold chemistry slows development, hot accelerates it. I keep a small plastic tub of water at 20°C and float the chemical bottles in it to stabilize. For times, I use the Massive Dev Chart app on my phone. You enter the film type, developer, and dilution, and it gives you a starting time. For example, Tri-X in HC-110 dilution B at 20°C needs about 6 minutes with agitation every 30 seconds. Write that time on a sticky note and stick it to your tank because once the developer goes in, the clock is running. Do not trust your memory. A reliable timer on your phone works, but avoid switching apps mid-development. If you use Rodinal, watch out because it is highly concentrated and one drop too much can push contrast higher than you expect. Start with the manufacturer’s recommended dilution and adjust later based on your own taste.
The Development Process: Stop, Fix, and Wash
Once you pour the developer into the tank, invert it gently for the first 30 seconds, then four inversions every 30 seconds after that. Yes, it is that simple. After the time is up, pour the developer back into its bottle (if reusable, check shelf life). Then fill the tank with stop bath at the same temperature. If you use plain water instead of a dedicated stop bath, you can get away with it, but I find the acid stop gives more consistent results and stops development instantly. Leave it for one minute with agitation. Next comes fixer, typically 5 to 7 minutes at 20°C. The fixer makes the unexposed silver halides wash away, leaving only your developed image. You can reuse fixer many times, just track how many rolls you have processed. After fixing, a good wash is critical. I do the Ilford method:
- Fill the tank with water at 20°C and invert 5 times, dump
- Fill and invert 10 times, dump
- Fill and invert 20 times, dump
- Then run a final rinse with a drop of wetting agent in the water
That sequence removes all fixer residue. If you skip the wash, your negatives will turn brown and spotty in a year. Trust me, I ruined a whole batch of summer photos that way.
Drying Your Film Without a Darkroom or Dust
After the final rinse, open the tank, pull the reel out, and gently unroll the film. Clip one end to a hanger or a clothesline in a place with low dust. A bathroom with the shower running for a few minutes creates steam that settles dust, then you turn off the water and hang the film in the damp air. It sounds weird, but it works. Use a squeegee very gently, or just pull the film between two fingers to remove excess water. Do not touch the emulsion side with your bare fingers. I let my film hang for three to four hours in a room that is not too dry. If you live in a dusty apartment, use a drying cabinet or a cardboard box with a small fan. Once the film is bone dry, cut it into strips of 5 or 6 frames and store them in archival sleeves. Now you can scan or make contact prints. No darkroom, no crazy expense, just a roll of negatives that you produced from start to finish.
A Final Word on Getting Better
Developing black and white film at home for the first time is a bit like making bread, you might get a dense loaf, but it still tastes like bread. My first roll had water spots and a few scratches, but I felt proud holding those negatives under a desk lamp. The more you do it, the more you learn how different films behave with your tap water, your agitation style, and your room temperature. I keep a notebook where I write down the developer, time, and any notes about the feel of the negatives. That habit saves me from repeating mistakes. If you want to try it, grab a changing bag and a Paterson tank, order a developer kit online, and process your next roll of film photography yourself. You will wonder why you waited so long. Save this page for when you are ready to order supplies, and come back to share how your first roll turned out.
#filmdveloping #blackandwhitefilm #photographytips #darkroom #filmphotography
Leave a Comment