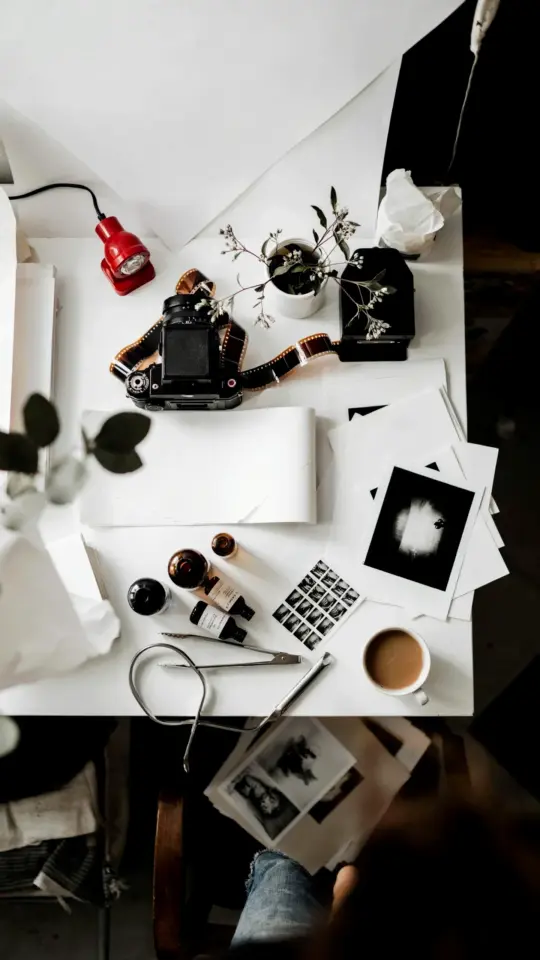
There’s a moment in Matdilisio’s Instagram tour where the camera swings open a closet door and suddenly you’re staring at a fully operational photo lab. Enlarger on the left, three trays in a neat line, a drying rack clipped to the shelf above. All inside what looks like a space that once held coats and shoes. It’s the kind of thing that makes you rethink every excuse about not having room for a darkroom. And that’s exactly why this darkroomsetup is worth studying closely.
Look, you don’t need a dedicated room with running water and fancy ventilation to develop prints at home. Honestly, you don’t even need a bathroom. Matdilisio proved that with a closet, a bit of planning, and a whole lot of ingenuity. Let’s break down exactly what makes this small-space darkroom work, and how you can steal the same ideas for your own setup.
Why a Closet Darkroom Is More Practical Than You Think
We’ve all seen those massive darkroom tours with five enlargers and a film dryer the size of a fridge. They’re beautiful, but they’re not realistic for most people living in apartments or houses without a spare room. Meanwhile, a closet just sits there, usually half-empty, collecting random junk. It’s the perfect candidate.
The biggest advantage is light control. Closets don’t have windows, which means you only need to block the gap under the door and any vents. Twenty minutes with some blackout fabric and tape, and you’re in business. Matdilisio’s tour shows a simple curtain rod hung inside the doorway, which is honestly a smarter solution than permanently sealing anything. You can take it down when you need the closet for, you know, actual closeting.
Another thing nobody talks about: a closet already has shelves and a rod. That’s built-in storage and a drying line rolled into one. You’re not starting from zero, you’re adapting what’s already there.
The Core Layout: Enlarger, Trays, and a Drying Rack
Matdilisio’s setup follows a classic print darkroom flow, just compressed. Enlarger on a sturdy table or counter at one end. Then three trays spread out in a row. A drying rack above or to the side. That’s it. That’s the whole lab.
Here’s what the tour shows specifically:
- An enlarger with a timer and a red filter, mounted on a small desk that fits the closet’s width.
- Three deep trays arranged left to right, big enough for 8×10 prints.
- A wire drying rack folded up and stored when not in use.
- Safelight placed up high, angled toward the ceiling.
- Chemicals in clearly labeled bottles on a shelf above the trays.
The genius part is that everything has a home, and nothing rolls around when the closet door closes. You could shake this setup, open the door, and it would still look exactly the same. That kind of stability matters when you’re working in the dark.
Three Trays Are Enough: Processing Print by Hand
Everyone gets hung up on the idea that you need a full print processor or a huge sink setup. You don’t. Three trays give you developer, stop bath, and fixer. That’s the entire analog print process right there. You move the paper from tray to tray, timing each step, and then wash in a separate container or sink afterwards.
Matdilisio’s trays look like the standard 11×14 size, which is a smart call because it leaves a little room to handle the paper without spilling chemicals everywhere. And honestly, working with three trays forces you to be disciplined. You mix fresh chemistry, you use it, you pour it back into bottles. There’s no room for laziness when your workspace is three feet wide.
One thing I noticed in the tour is that the developer tray sits closest to the enlarger, which makes total sense. Expose a paper, slide it into the developer, then move it down the line. The workflow just flows in one direction, no crossing over, no drips on the floor.
Safelight Placement and Working in the Dark
Put the safelight where it actually helps, not just where it fits. Matdilisio has it up high, pointing at the ceiling, bouncing indirect light down onto the trays. That’s the right move because direct safelight can cause fogging on photo paper, especially if it’s too close. High and angled is the way to go.
You also want to figure out your darkroom’s specific light leaks before you commit to a layout. Tape a piece of photo paper, expose it to the room for a few minutes, and develop it to check for fog. It takes fifteen minutes and saves you from ruined prints later. I know it sounds nerdy, but anyone who runs a tiny darkroom does this at least once. It’s like a rite of passage.
One more thing about safelights: buy a proper red one, not a random LED bulb you found in a drawer. Standard household LEDs emit light across the spectrum, and photo paper is sensitive to more than just red. A dedicated safelight costs twenty bucks and removes a whole category of problems.
Drying Prints in a Small Darkroom
Wet prints need to dry flat, and that’s usually the thing that takes up the most space. Matdilisio uses a folding wire rack that clips onto a shelf, which is an incredibly simple solution. You print, wash, and then hang the prints with clothespins or lay them on the rack to air dry.
If you don’t have a fancy print dryer, just use a window screen or a dish rack. The point is to get air flow around both sides of the print so it doesn’t curl or stick together. In a closet, you can also string a line across the top, right where the hanging rod would go, and attach prints with binder clips. It works, it’s cheap, and it keeps everything out of the way while you process more.
Don’t forget to protect your drying space from dust. Put your prints in a closed cabinet or cover them with a towel if you’re walking away for a while. Nothing ruins a beautiful print like dusty specks embedded in the emulsion.
Storage Hacks for Chemistry and Paper
Chemicals are the biggest storage headache in a small darkroom. They come in big bottles, they have a short shelf life, and they smell. Matdilisio solves this with narrow, clearly labeled bottles that fit on a single shelf above the trays. Using accordion bottles or glass bottles that you squeeze to remove air helps chemicals last longer, which is huge when you only print once a week.
For photo paper, always store it flat. Doesn’t matter if you have a dedicated paper safe or just a plastic sleeve inside a box. Flat and dry is the rule. In a closet, the floor is actually a fine spot, as long as nothing leaks and you remember it’s there. I speak from experience: finding an old box of paper under a coat is exciting, but not if it’s curled.
Here’s a practical idea from the tour that I really liked: a small rolling cart. Matdilisio keeps one tucked into the closet corner with trays, tongs, and measuring cups. Roll it out when you need extra counter space, roll it back when you’re done. That’s exactly the kind of flexibility a tiny darkroom needs.
How to Get Started in Your Own Closet
Ok so you’re convinced. You have a closet. You have some ambition. Where do you start? First, measure the width and depth of your closet floor and note the height of the shelves. You need a desk or table that fits, plus room to stand and move your arms. A two-foot-deep surface is workable, three feet is luxurious.
Next, buy an enlarger that’s compatible with the film format you shoot. A 35mm enlarger is compact and can usually do 6×6 as well with the right head. Used ones are everywhere, just make sure it comes with a lens and a carrier. If not, those parts can cost more than the enlarger itself.
Then grab the basics: three trays, a safelight, a timer, chemicals, and a thermometer. Set up the enlarger, test your light leaks, and run a few test strips. Don’t overthink it. Print one okay photo and you’ll be hooked.
Now go save this idea for later or share it with that friend who keeps saying they want to get into film photography. Then maybe look at your own closet with new eyes. It’s not a storage space anymore, it’s a potential lab.
Leave a Comment