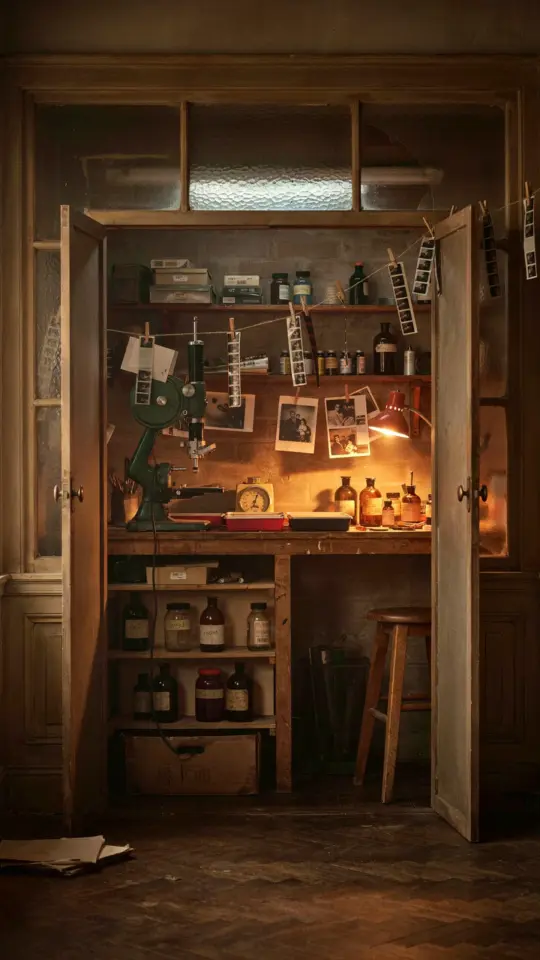
I finally snapped after tripping over my own tripod for the fourth time in one week, and honestly, the real problem wasn’t the tripod. It was the pile of camera bodies, loose lenses, and stray filters that had taken over the corner of my studio like a squatting tenant. My small studio needed a compact photography gear cabinet, not more promises that I would “organize it later.” So I bought one, and it completely changed how I work, but only because I got past a bunch of mistakes I didn’t even know I was making.
Mistake #1: Assuming More Shelves Equal More Storage
I almost bought a tall industrial shelving unit with about eight open shelves. Sounded great in theory. Then I realized my gear wasn’t all the same size, and those uniform gaps would have been half wasted.
The fix was a photography gear cabinet with adjustable interior heights. My tall 70-200mm lens gets a tall slot. My mirrorless body sits on a short shelf with the 35mm prime attached. Nothing is stacked, nothing is jammed, and I can actually see every single piece the moment I open the door.
That visibility matters more than you’d think. When everything is in plain sight, I stop buying duplicate cables and second lenses I forgot I owned.
Mistake #2: Buying a Bookshelf When I Actually Needed a Cabinet
Look, there is a massive difference between a bookshelf and a real photography equipment storage unit. A bookshelf is for things that don’t mind dust. Camera sensors hate dust. Lenses hate dust. My entire camera collection hates dust.
I learned this the hard way after spending two weeks cleaning sensor spots out of every single frame I shot. You know that sinking feeling when you see a gray smudge in the middle of a blue sky? Yeah, that.
The better choice for a small studio is a sealed cabinet with doors. It keeps the air movement down, blocks the dust, and if you live anywhere with humidity swings, you can add a small silica gel pack inside without it being an eyesore.
Mistake #3: Buying a Photography Gear Cabinet That Was Too Big for the Room
Here’s the thing: my studio is so small that my desk doubles as a light table and a snack spot. There was no way a massive furniture piece was going to fit, even if it looked amazing in the product photos.
Before I bought the current cabinet, I measured the wall, the floor, the doorway, and then I measured them all again. I even cut out a piece of cardboard the same size as the footprint and taped it to the floor to see how it felt to walk around it. That cardboard test stopped me from buying a unit that would have blocked my only power outlet.
My compact cabinet takes up about the same floor space as a small armchair, which is a trade I’ll make any day.
Mistake #4: Forgetting to Think About How I Actually Grab Gear
I used to pack my camera bag in a dark, messy corner every single job. It was chaos. Now, the cabinet lives directly next to my bag spot, and the door swings outward without hitting anything else.
If I’m shooting a portrait, I open the door, pull out a fixed lens, and click it on the body before I even leave the room. If it’s a real estate shoot, I grab the wide zoom and a spare battery in one motion.
But this only works because I organized the cabinet by task, not by gear type. It’s not a catalog. It’s a workflow tool.
Here is the setup that works for me:
- Top shelf for my primary camera body attached to a 50mm, ready to go.
- Middle section for prime lenses in individual padded slots, all facing mounts up.
- Bottom drawer for batteries, memory cards, and a rocket blower.
- The side panel holds a couple of reflectors and a light meter that normally has nowhere to live.
Mistake #5: Skipping the Weatherproofing Details for a Small Studio
I live in an old building with radiator heat that swings from tropical humidity to desert dry in about three hours. My first thought was just to get the gear off the floor, not to protect it from the atmosphere.
That was a mistake. My lenses are optical instruments, and they react to their environment like grumpy little divas. Now that I have a photography equipment storage cabinet with a proper seal, I can control the micro-climate inside. I keep a small hygrometer in there, and I recharge the silica beads once a month.
It’s a mild obsession, but it’s way cheaper than replacing a lens that grew fungus in the summer.
What I Learned About Aesthetic and Function in a Tiny Room
My studio is also a home office, so I didn’t want the cabinet to scream “industrial warehouse.” I got one with clean lines and a matte white finish that disappears against the wall. It hides clutter, but it doesn’t hide from guests asking what it is.
I’ll be honest, I was skeptical that a piece of furniture could look sleek and do the job at the same time. But this one did. The doors close flush, the handles are simple, and it doesn’t make my little room feel smaller, which is the real test.
Final Thoughts on Small Studio Storage for Photographers
If there is one thing to take from all this, it’s to buy the right compactstorage solution for how you actually work. Don’t buy the biggest thing you can fit. Buy the thing that makes you grab your camera more often because the process doesn’t give you a headache.
Your gear is meant to be used, not buried under a pile of backdrop paper. A proper camera storage cabinet changes how the whole room functions, and it makes packing for a gig take five minutes instead of twenty. Start with the mistakes, measure your damn wall, and get a unit that keeps everything clean, visible, and ready to shoot.
Leave a Comment